
time:2021-06-28 Views:267
The 6-meter solar street light is a street light product that we have come into contact with, but many customers and friends do not have a comprehensive understanding of how to install and debug it. Here, we have invited a professional manufacturer to introduce us the detailed steps, let's take a look at it in detail.
6m solar street light
1. First, prepare the lighting components, install the special tools and waterproof insulation tapes, transport the light poles to the installation location by small trucks, place construction site signs at road intersections, and prohibit vehicles and pedestrians from entering the construction road site.
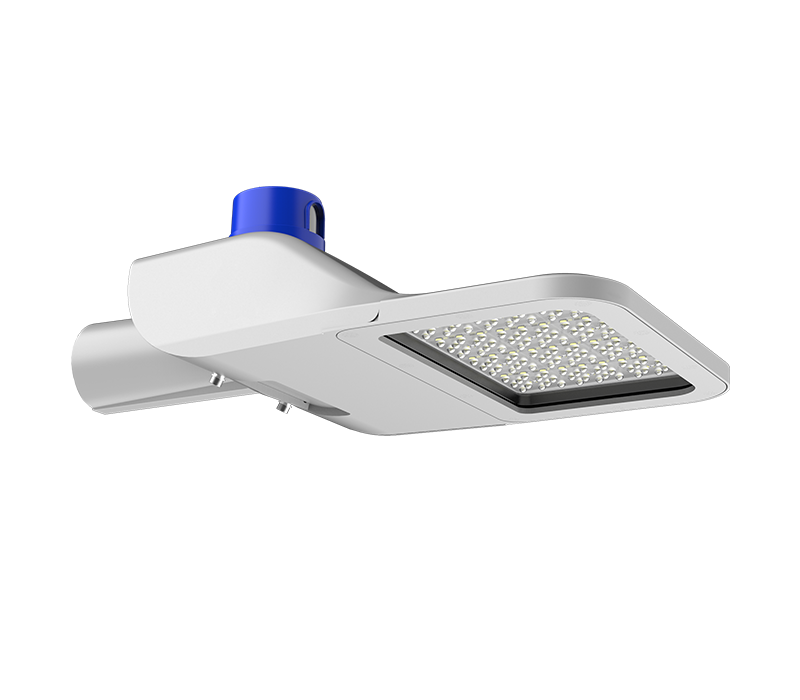
2. Lamp assembly part, first lay the lamp flat, then install the driving power source, lead out from the power cord, complete the lamp assembly part.
3. In the assembly part of the photovoltaic panel and the bracket, fix the periphery of the bracket and lay it flat, tighten the connection between the photovoltaic panel and the bracket, and then install it on the top of the light pole and fix it.

4. In the battery assembly part, first lay the waterproof box flat, then put the battery in the waterproof box, buckle the upper cover, fix the lower cover with screws, put it in the battery pit, cover it with a stone plate, and backfill it with soil.
5. Turn on the power, connect two leather wires from the positive and negative terminals of the battery, one wire is connected to the light source of the lamp, and the other wire is connected to the photovoltaic panel.
6. Wiring part of the intelligent controller: the controller reserves 6 wires, two wires are connected to the battery, two wires are connected to the light source, and two wires are connected to the photovoltaic panel. The power cord is inserted downward from the upper opening of the light pole support arm, and the power cord is connected to the light pole interface until it reaches the electric door lead wire at the lower end of the light pole. Intelligent controller system + lighting control + time control 24 hours full automatic function.
7. Lift the parts, then use a small crane to lift the pole, align the flange holes with the anchor bolts of the lamp, and tighten the fixing nuts with tools to complete the lifting of the parts.
8. Connect the main power cord and the lighting debugging part, install a street lamp special fuse at the junction of the lamp power cord and the main power cord to prevent leakage protection. Adjust the light pole, then use a crowbar to pry open the flange, and adjust the light pole to be perpendicular to the light pole in a straight line. Before powering on and lighting, check whether the power connector of each lamp is tightened. After confirming that the power cord connector is firmly connected, power on and lighting to complete the street lamp installation and lighting debugging.